
NOTE: This guide assumes you know how to access the Manage section in SambaPOS. If unsure, please check this guide on Accessing Manage Section.
Adding Products on SambaPOS is a 2 step process. First, you add the Product, then you add your new Product to one or more Menus.
Add Product
- From the Manage screen, click on the Products section, then click Product List. The Product List will then be displayed. Now, click Add Product.

- Enter details of the Product on the Add Product screen, as follows:
- Product Name: The name of your product
- Group Code: The category this product belongs to. Either select an existing Group Code from the dropdown list, or type in a new one.
- Barcode: (optional) The product's Barcode, useful if you have a barcode scanner and want to scan a product's barcode to add it to an order.

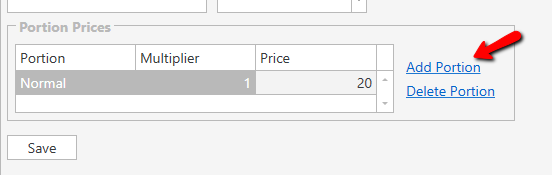
- Click Add Portion next to the Portion Prices. You only need to have one Portion, and only need to enter the Price here. (Portion and Multiplier can be left at their default values)
- Click Save to save your new Product. You will see your new Product displayed in the Product List under the Group Code (category) you selected.

Add Product to Menu
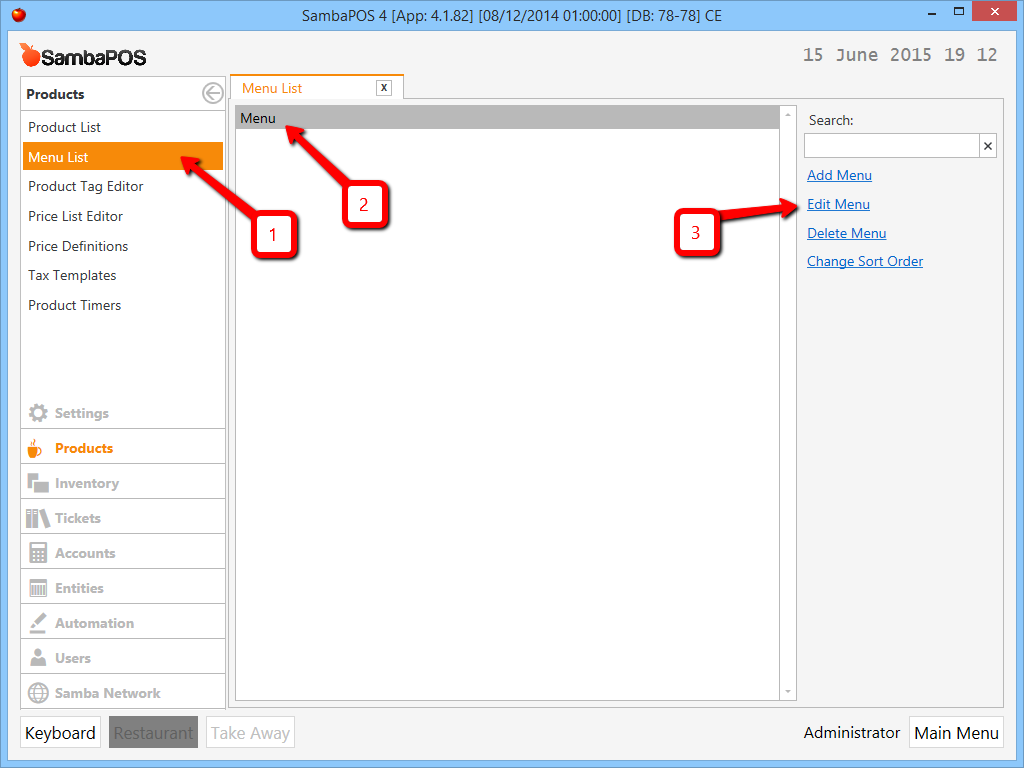
- Back at the Manage screen, click on the Products section, then click Menu List. The Menu List will then be displayed. Now, click on the Menu you want to edit and click Edit Menu.
- (OPTONAL) If you want to add a new Menu Category:
- Click Add Category.
- Type the name of the new Category into the Categories dialog that appears, then click OK.
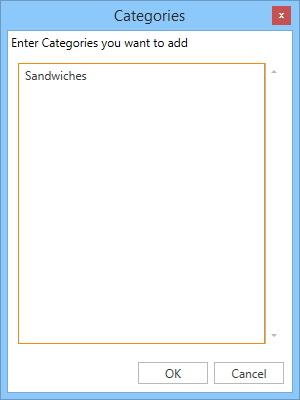
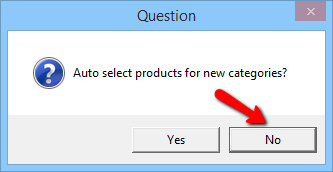
TIME SAVING TIP: You can add multiple new Categories by typing the name of each Category on a new line. - Click No on the dialog that appears asking if you want to auto select products for the new categories.
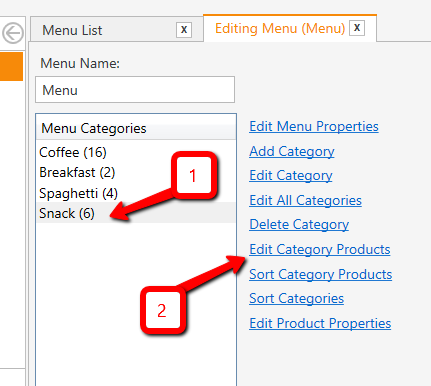
- On the Edit Menu List screen, select the Menu Category you would like to add the Product to, then click Edit Category Products.
- Select your new Product from the Product List on the left, then click the Right Arrow to move it into the Selected Products list on the right. Now, click OK.
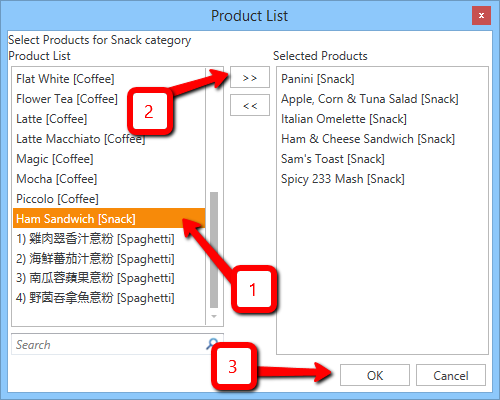
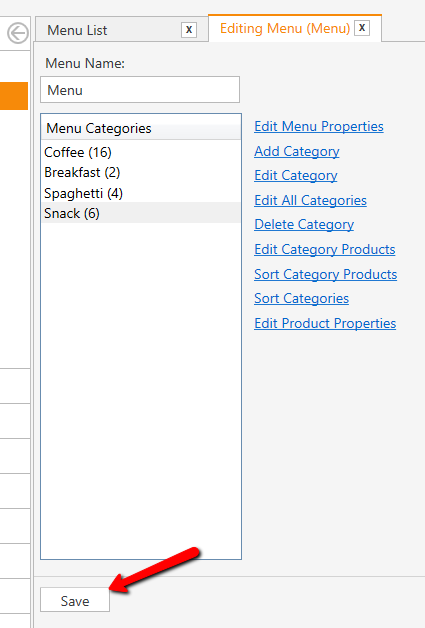
TIME SAVING TIP: You can select multiple Products in the Product List by holding down CTRL when selecting. - Finally, click Save to save your changes.
TIP: It's useful to know that Products can be added to more than one Menu Category as well as on multiple Menus. So for example, you can have your "Ham Sandwich" Product displayed in both "Snacks" and "Lunch" Menu Categories.
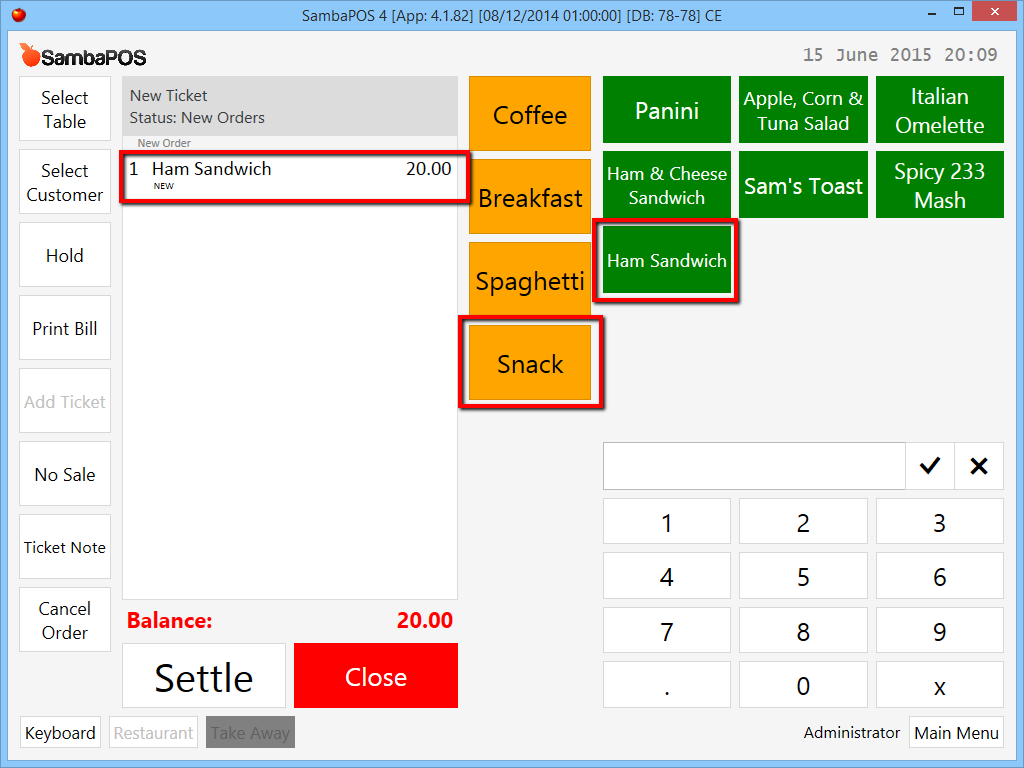
Now on the POS screen, you can see your new Product added to the Menu:
Comments
0 comments
Article is closed for comments.